
Last updated November 16, 2026
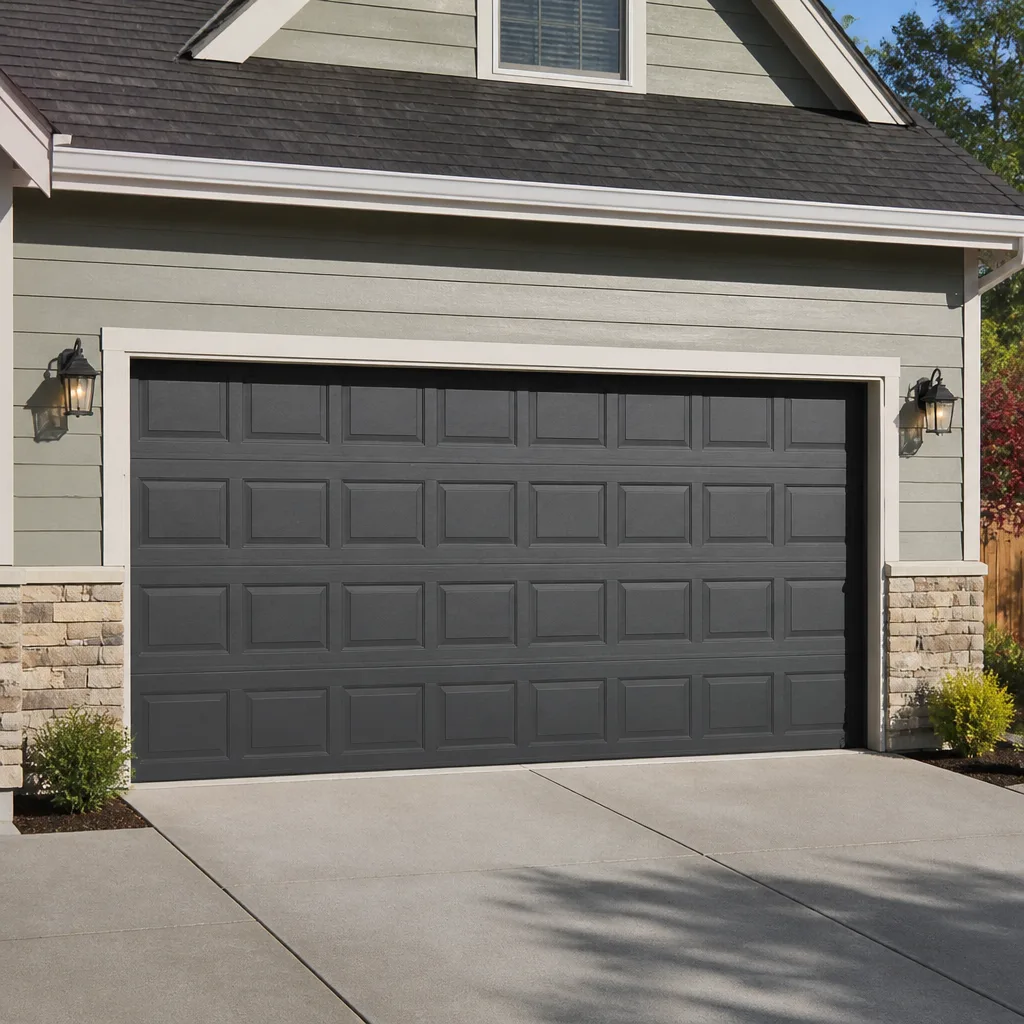 Raised-panel steel
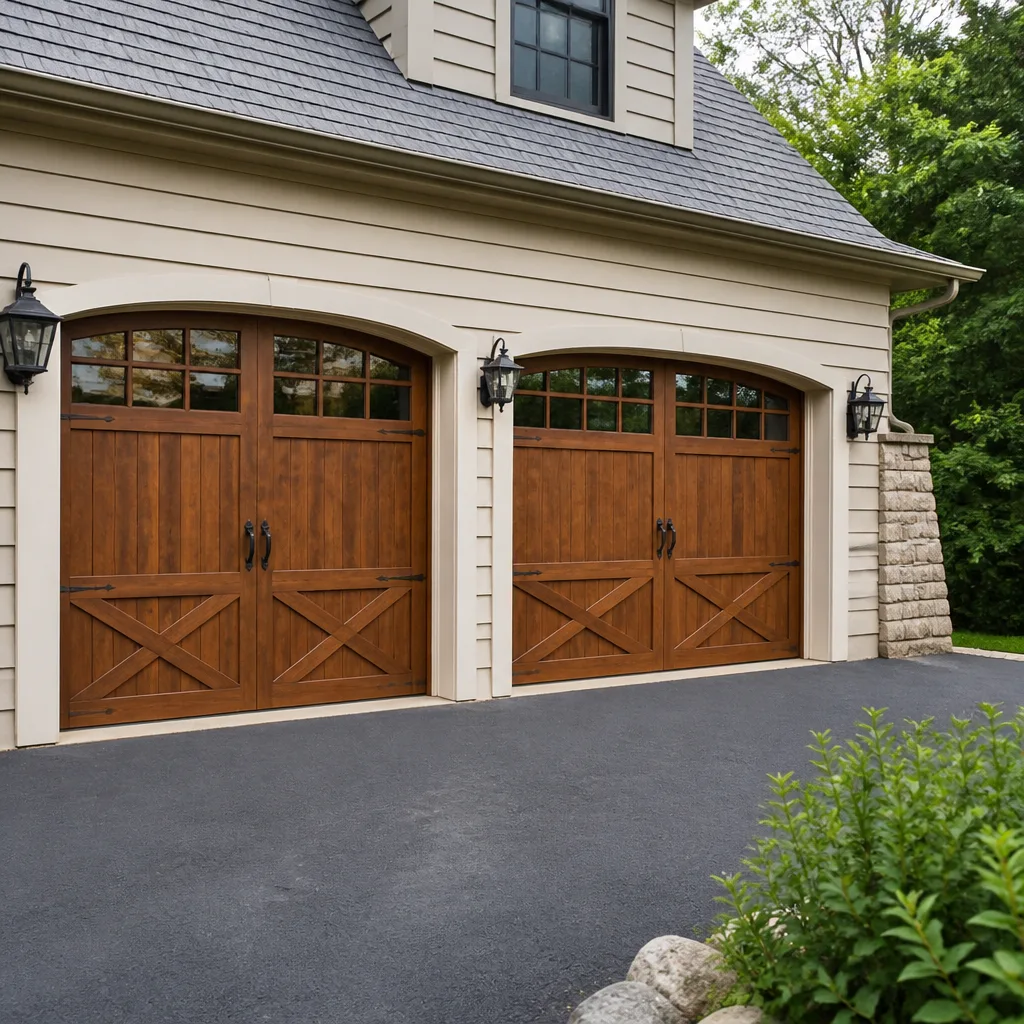 Carriage house
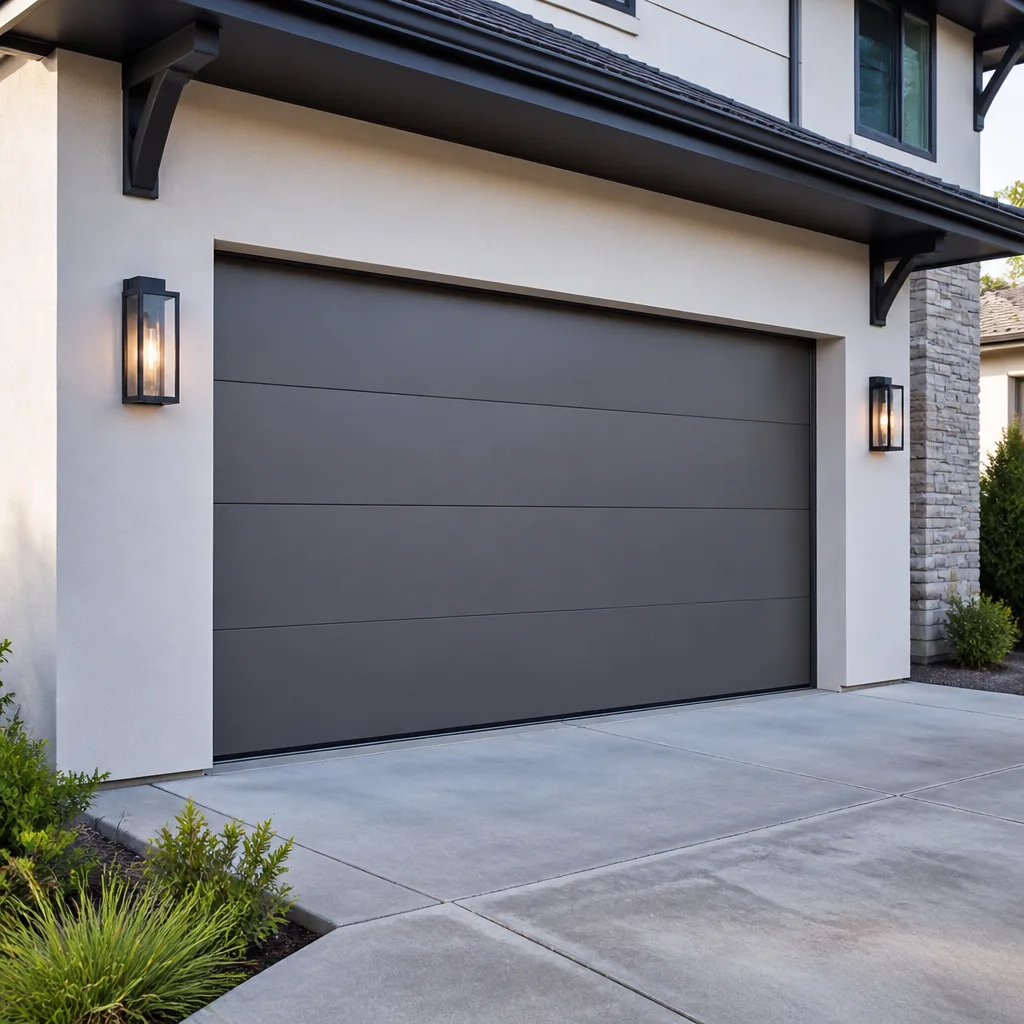 Modern flush
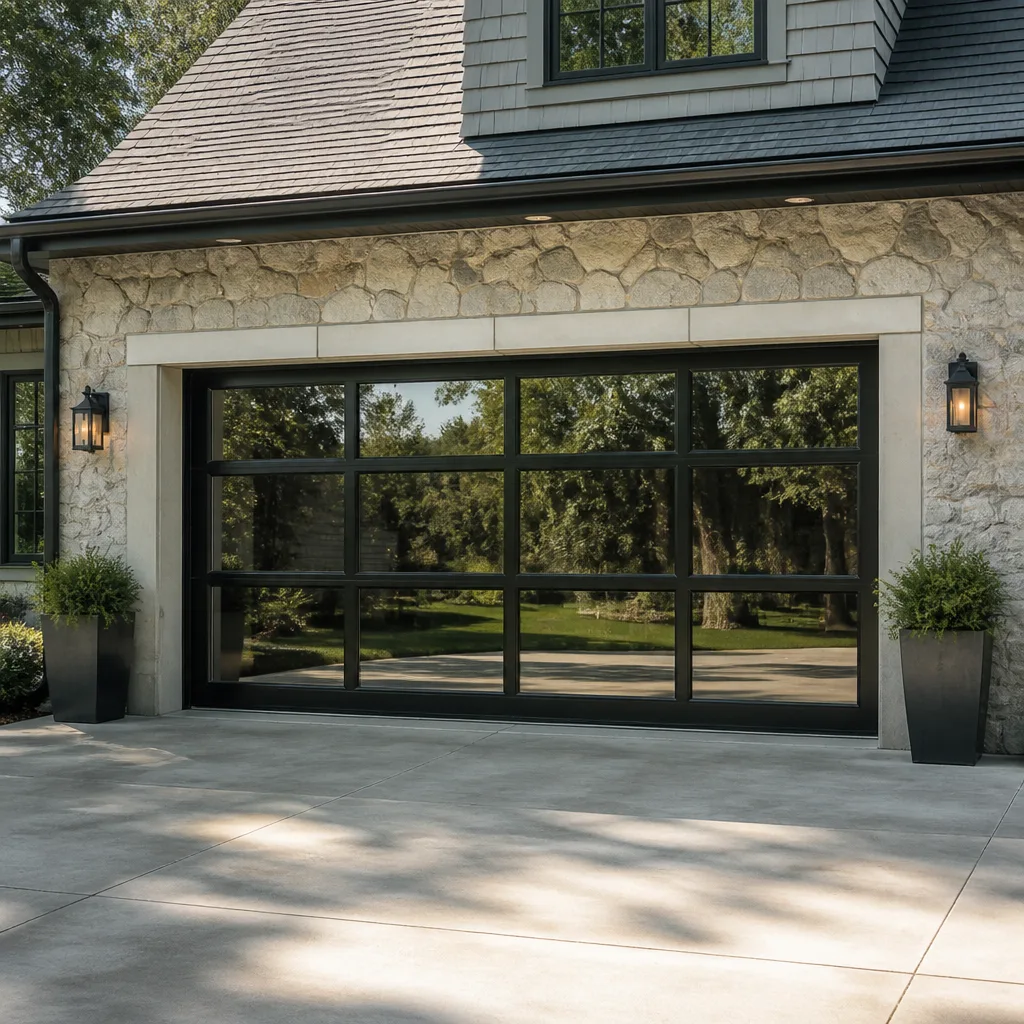 Full-view glass
 LiftMaster openers
 Chamberlain openers
Full 25-point door and opener safety check with every visit - springs, cables, rollers, tracks, and your LiftMaster or Chamberlain opener included
You get a price before we start. It does not change when the pro arrives.
Get your free estimateGarage Door Repair Maintenance Checklist for Nashville Homeowners
Most garage door checklists you’ll find online were written for a climate that isn’t ours. They tell you to watch your springs and ignore the concrete under your door, which is backwards for Middle Tennessee. The repairs our technicians see most in Nashville don’t start with a broken spring. They start with water sitting on the slab, working at the bottom brackets and the weatherstripping until both give out. Nashville’s spring rains and summer humidity set up a cycle that punishes the lower half of your door far harder than the upper half, and a freeze or two in January finishes the job. This guide is built backward from the calls we actually take, ranked by how often each failure shows up. You’ll learn which parts to focus on, which lubricants to reapply after a Nashville summer, how to read your weatherstripping for the gap pattern that starts with slab settling, and the three checks you can do in under five minutes that head off most emergency calls.
Quick Answer
A practical garage door maintenance checklist for Nashville homeowners covers four things above all: the bottom brackets and weatherstripping where water pools on the slab, lubrication that has to be refreshed after each hot summer, balance and travel checks so a small problem doesn’t turn into a broken spring or a strained opener, and the safety reversal test. Do the five-minute visual checks monthly, the lubrication and hardware tightening twice a year as the seasons turn, and leave springs, cables, and bracket replacement to a trained technician.
Styles & brands we work with
- Raised-panel steel
- Carriage house
- Modern flush
- Full-view glass
- LiftMaster openers
- Chamberlain openers
Table of Contents
- Why Nashville’s Climate Punishes Your Door’s Lower Half
- Which Parts Fail First in Nashville, Ranked by Frequency
- The Three Five-Minute Checks That Prevent Most Emergency Calls
- Lubrication Points You Have to Re-Do After a Nashville Summer
- Inspecting Weatherstripping for the Slab-Settling Gap Pattern
- A Realistic Monthly, Twice-Yearly, and Annual Task Split
- The Safety Reversal Test and What It Tells You
- What Homeowners Should Never Touch, and Why
Why Nashville’s Climate Punishes Your Door’s Lower Half
Start with the slab. In Nashville, the ground under your garage apron is clay-heavy, and clay moves with moisture. It swells through the wet months and shrinks hard through dry spells. That movement is why cracks open along the apron where it meets the driveway, why the ground settles unevenly under the front lip of a garage, and why a door that used to seal tight starts to let light through at the corners. Spring rains arrive on top of that and pool on a slab that has no natural fall. You get standing water under the bottom corners of your door. The metal bracket that holds the bottom roller sits right there, in the splash zone.
Humidity and Ice Do the Rest
Nashville’s summers are humid, not just hot. That humidity keeps the lower tracks damp and lets surface rust take hold on painted steel and on the screws and hinges near the ground. Then January rolls in, and any water still sitting in the weatherstripping or against the bottom bracket freezes. Ice expands and splits rubber. It works the weatherstripping loose from its channel and loosens the fasteners underneath.
Manufacturers build doors to seal against weather, not to sit in it. That’s the whole point of a lower-half-first maintenance approach. It’s also why our garage door repair calls in Nashville lean toward weatherstripping replacement, bottom bracket replacement, and track alignment far more than to stripped gears. Once you understand the pattern, your checklist stops looking like everyone else’s.
Which Parts Fail First in Nashville, Ranked by Frequency
Here’s the ranking our technicians work from, based on which parts show up as the cause of a breakdown most often in this market. We work on Wayne Dalton, LiftMaster, Craftman, and other major systems across Nashville, and the pattern holds pretty consistently across brands: the environment breaks parts in a predictable order.
- Bottom brackets and lower fasteners. Standing water and humidity rust the bracket that anchors the bottom roller and the cable to the door. It’s the single most preventable failure in Nashville because it’s the most visible one if you know where to look.
- Weatherstripping and bottom seal. Rubber and vinyl harden in the sun, split in the cold, and separate at the corners as the slab settles. Torn seals let water and air in, which feeds the bracket problem above.
- Hinges and rollers. Heat drives lightweight factory lubricant out of the pivots, and dust settles in. Hinges get noisy and stiff, and steel rollers flat-spot.
- Track alignment. Ground movement and a settled apron knock the lower track out of plumb. A slightly out-of-line track runs the rollers hard and adds strain to the whole system.
- Springs and cables. Springs do age out, and fatigue is real. But they are lower on the list than the internet leads you to believe in this climate, and they fail more often from imbalance and strain than from simple age.
- Opener components. Gears, travel limits, and photo-eye sensors wear or drift. They’re frequently blamed for a problem that actually starts in the door itself.
Notice what’s not at the top. Springs make the scariest noise, but the water and weather that quietly wreck your bottom brackets cause more of the calls we take.
The Three Five-Minute Checks That Prevent Most Emergency Calls
If you do nothing else from this guide, do these three. Each takes under five minutes, and between them they catch the failures that lead to most urgent repair calls in Nashville. You don’t need tools for any of them.
1. Watch the Water
After the next heavy rain, look at the concrete under your closed door. If water pools anywhere along the bottom, especially in the corners, that water is doing damage every time it sits. Note where it collects. A single low corner is a weatherstripping or slab issue, not a coincidental wet spot. It’s also the fastest way to spot rising damp – the sign your door is losing its water fight before it happens.
2. Listen and Watch the Travel
Stand to the side and run the door up and down. Listen for grinding, popping, or a single clunk. Watch the door travel smoothly and come down squarely. Any wobble, any noise that wasn’t there last month, gets flagged. A door that runs rough is telling you which part to check, and early strain is what wears springs, openers, and tracks.
3. Light Test for Gaps and Looseness
Close the door at night with the garage lights on and stand outside. Any light showing along the bottom or the corners is a seal gap you should fix before it becomes a wet bracket. On your way past, grab the bottom bracket with a gloved hand and give it a gentle wiggle. It should feel solid. Loose means stop and call; tight means you’re good.
Lubrication Points You Have to Re-Do After a Nashville Summer
Manufacturer lubrication schedules assume moderate temperatures. Nashville doesn’t give a door those. Through June, July, and August, the panels soak up heat, and the lightweight lubricant packed into your hinges and rollers thins and migrates away in a way the owners’ manual doesn’t account for. So the honest advice here is: re-lubricate after the heat breaks, not on a calendar someone printed in a different state.
What to Lubricate
- Hinge pivots. A drop at each pivot of every hinge. Wipe off excess.
- Roller stems and bearings. The metal stems, not the wheels. A drop where each stem meets its hinge.
- The torsion shaft and the top bearing plate. A light coat on the shaft, never inside the spring.
- Track surfaces. These take a very light application on the vertical and horizontal rail. Wipe down anything that could collect grit.
- Opener drive. Follow the manufacturer for chain or belt tension and any lubrication it calls for. Genie and LiftMaster units differ here, so check the manual that came with yours rather than guessing.
What to Lubricate With, and What Not To
Use a silicone or lithium-based garage door lubricant. Skip WD-40 as a primary lubricant because it’s a light solvent, not a lasting coat. Never use grease on the tracks or rollers; it attracts grit and turns into a paste that wears rollers faster. And never put anything on the torsion spring. When in doubt, a local technician can tell you quickly what your specific door needs.
Inspecting Weatherstripping for the Slab-Settling Gap Pattern
Nashville’s clay soil leaves a calling card on your garage door, and it shows up as a specific gap pattern. When the ground moves unevenly under the front of the garage, the frame and door settle at slightly different rates. You end up with gaps that aren’t even: a hairline along most of the bottom, then a wider one at a single corner, or a gap that’s fine on the left and open on the right. That pattern, more than an even all-around gap, is the one to look for near your garage apron.
How to Read the Gaps
- Corner-only gaps. One corner open, three sides tight. That’s the settling signature. The slab has dropped or heaved under that corner.
- Center-only gaps. The middle sags but the corners are tight on the bottom seal. That’s usually a sag in the bottom section or a worn seal, not slab movement.
- Even gaps all around. Normal wear on the weatherstripping. It’s stretched and hardening, but the concrete underneath is fine.
- Side jamb gaps. Gaps running up the vertical sides usually point to a misaligned track or a shifted frame, not the slab.
Replacing a torn bottom seal or perimeter weatherstripping is straightforward, low-cost work, and it’s the front-line defense against the water that feeds everything else. When the gaps are uneven because the ground is moving, it’s often worth having it checked rather than just replacing the seal annually. Our team can inspect the seal, the brackets, and the track on the same visit. You can reach us for a free estimate at (855) 916-8763. We answer 24/7. Fast dispatch from 7am to 7pm, Sunday through Friday.
A Realistic Monthly, Twice-Yearly, and Annual Task Split
A checklist that assumes you’ll crawl around the garage every weekend doesn’t help anyone. This split is built around actual skill level and actual risk. Homeowners can handle most of it, some of it needs a closer look, and one category belongs only to a trained professional. Here’s the realistic version for a Nashville home.
Monthly (Under 10 Minutes, No Tools)
- Do the water check after heavy rain and note any pooling.
- Run the door and listen for new noise or wobble.
- Stand outside at night and check for light gaps.
- Glance at the bottom brackets for rust bloom.
Twice a Year (Spring and Fall, Basic Tools)
Spring, before the rains, and fall, before the freeze, are the right times. On these passes, check the seal again, wipe the tracks down, and look for loose fasteners. Then do the lubrication pass after summer heat has passed, as covered above. If you have a long checklist and a short schedule, these two seasonal visits are the ones that matter.
Annually or When the Door Gets Noisy or Rough
Once a year, work through the full hardware check with basic tools: tighten the hinge and roller screws you can reach safely, check the opener’s manual for its adjustment points, and do the safety reversal test. If noise or slop keeps coming back, that’s the point where it pays to have a specialist look. Our technicians have up to 15 years of experience with doors and openers, and a diagnostic at that stage usually catches a small issue before it becomes an emergency.
The Safety Reversal Test and What It Tells You
The safety reversal test checks that your opener will stop and reverse if it meets something on the way down. It matters because the photo-eye sensors and the pressure settings drift over time, and an opener that has quietly lost its reverse function is a real hazard. Run it once a year and any time your opener has been bumped, power-cycled, or serviced.
- Photo-eye test. With the door open, pass a tall object through the sensor beam near the floor. The door should not close, or should reverse immediately. If it closes anyway, the eyes need adjustment or replacement.
- Reversal test. Lay a piece of wood flat on the floor in the center of the door’s path. Close the door. It should contact the wood and reverse without much pressure. If it shoves down hard, the travel or force setting needs adjustment.
If either test fails, don’t force the door. A misadjusted opener is a symptom, often of a door that’s out of balance, and you want a specialist to check both. If your opener is a brand like LiftMaster, Chamberlain, or one of the others we service, we can tell quickly whether the unit can be fixed rather than replaced. You can read more on our garage door opener repair page and put this on your calendar.
What Homeowners Should Never Touch, and Why
Some parts of your door are safe to check, and some are genuinely dangerous. The torsion spring above the door and the cables running through it are under high tension, and they store enough energy to cause serious injury when they let go. If you’re not trained to work on them, don’t. A spring that slips the wrong way can break bone. Cables can snap and whip. The bottom bracket, too, holds the cable under load, and a rusted one that fails while someone is messing with it is exactly the scenario to avoid.
The right approach is to inspect and report: look for rust or looseness, listen for noise, note any wobble or gap, and then call. Don’t take anything apart. Don’t try to loosen a bracket or adjust a spring under tension. And don’t assume a squeaky, rough door just needs to be lived with. The best professional help is diagnostic first: find out what’s actually wrong before anyone recommends a fix. That’s the standard we hold ourselves to, and it’s why our technicians are trained to repair existing systems rather than default to a full replacement. When you want a trained eye on your door, call (855) 916-8763.
Common Mistakes to Avoid
- Ignoring the slab after rain. Most Nashville homeowners look at the door, never the concrete under it. Pooling water at the bottom corners is the earliest sign of the bracket corrosion that leads to a breakdown.
- Lubricating on a calendar from another climate. Reapply after Nashville heat breaks, not on a fixed month that assumes moderate temperatures. Light lubricants cook off in summer and leave hinges dry.
- Greasing the tracks. This is the top DIY error. Grease collects grit, grit wears rollers, and worn rollers strain everything else.
- Replacing a weatherseal without finding out why the gap is uneven. In this market, corner gaps often mean slab movement. Putting on a fresh seal over a moving slab buys you a few months.
- Running the door while it’s rough or noisy. Strain is a symptom of an out-of-balance door, and every cycle on a strained door wears the parts you can’t fix safely.
- Trying to adjust a spring or loosen a cable bracket. These are high-tension parts. A quick internet adjustment video doesn’t change that. Stay safe and have someone trained do it.
- Blaming the opener first. A door that won’t close properly is often a door problem, not an opener problem. Our team can correctly diagnose the difference and fix the actual cause.
See the difference
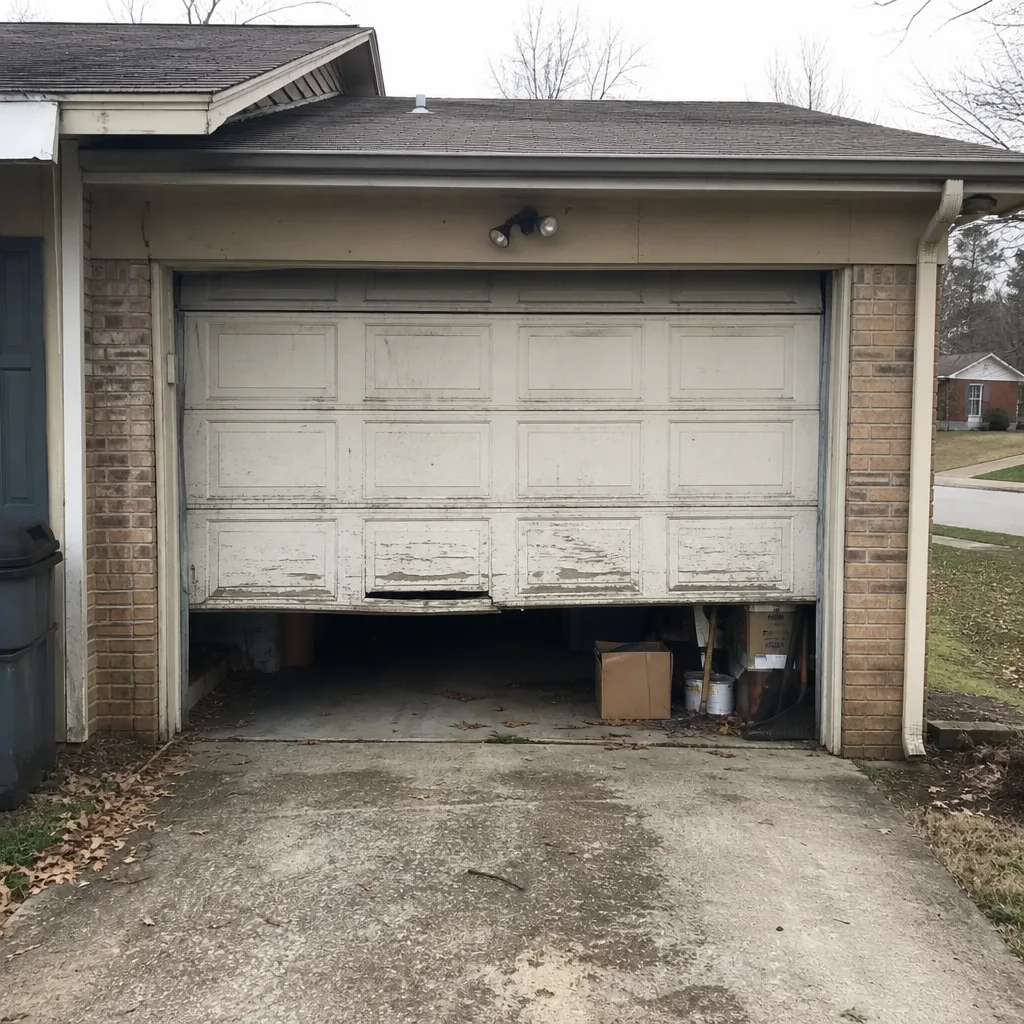 Before
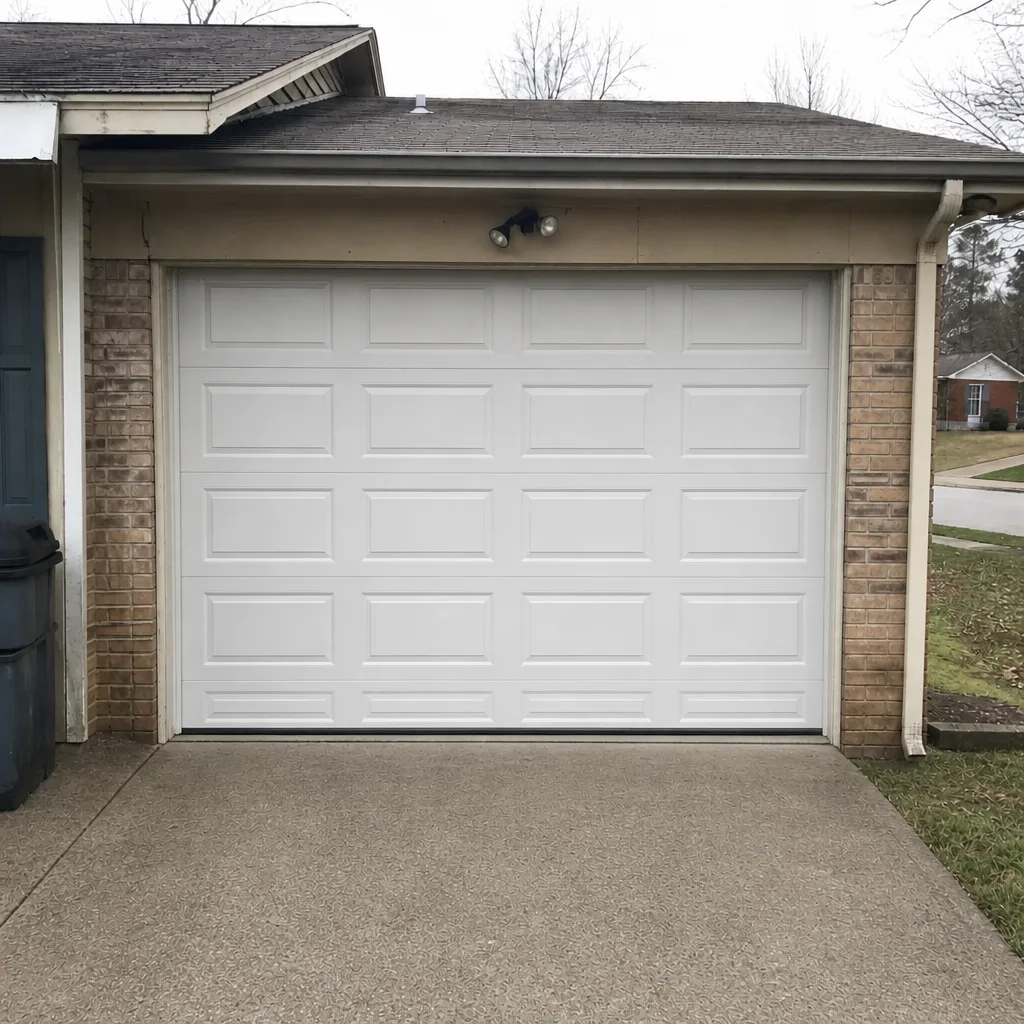 After
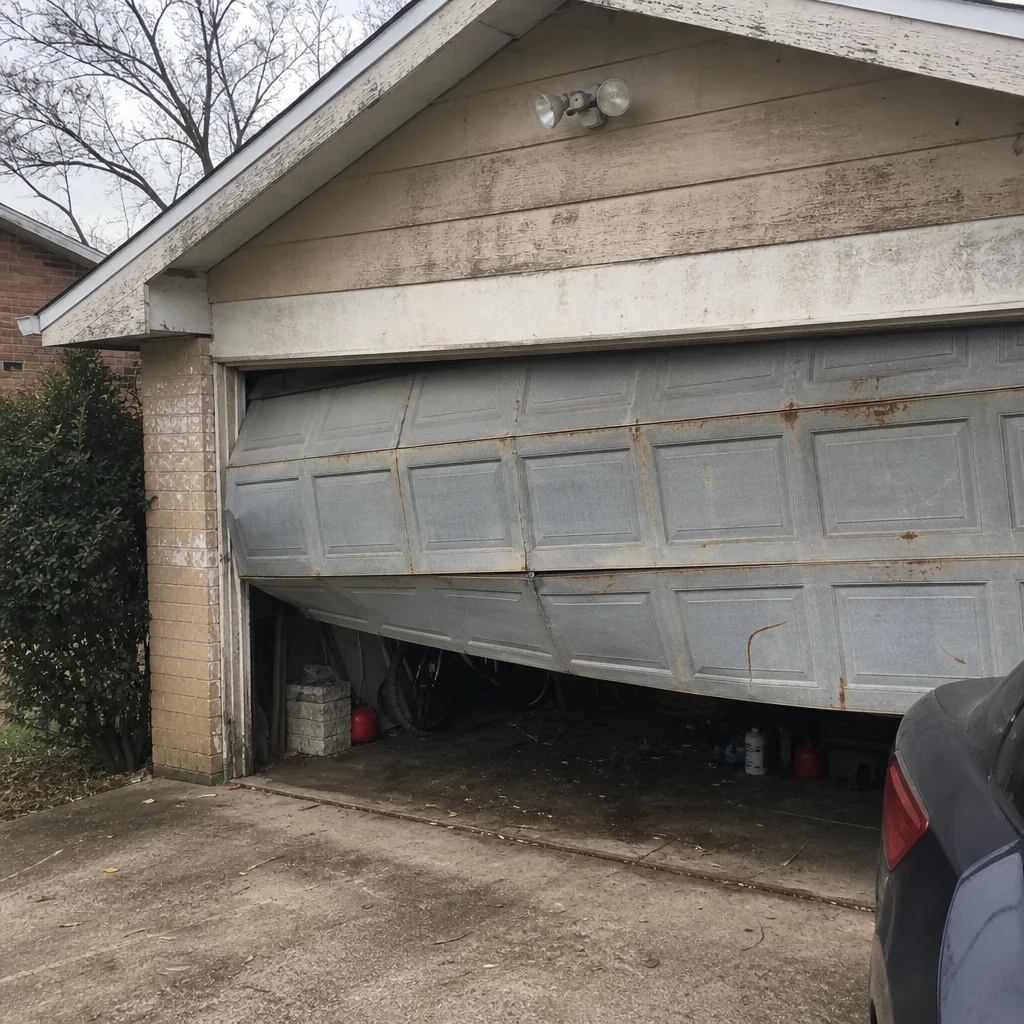 Before
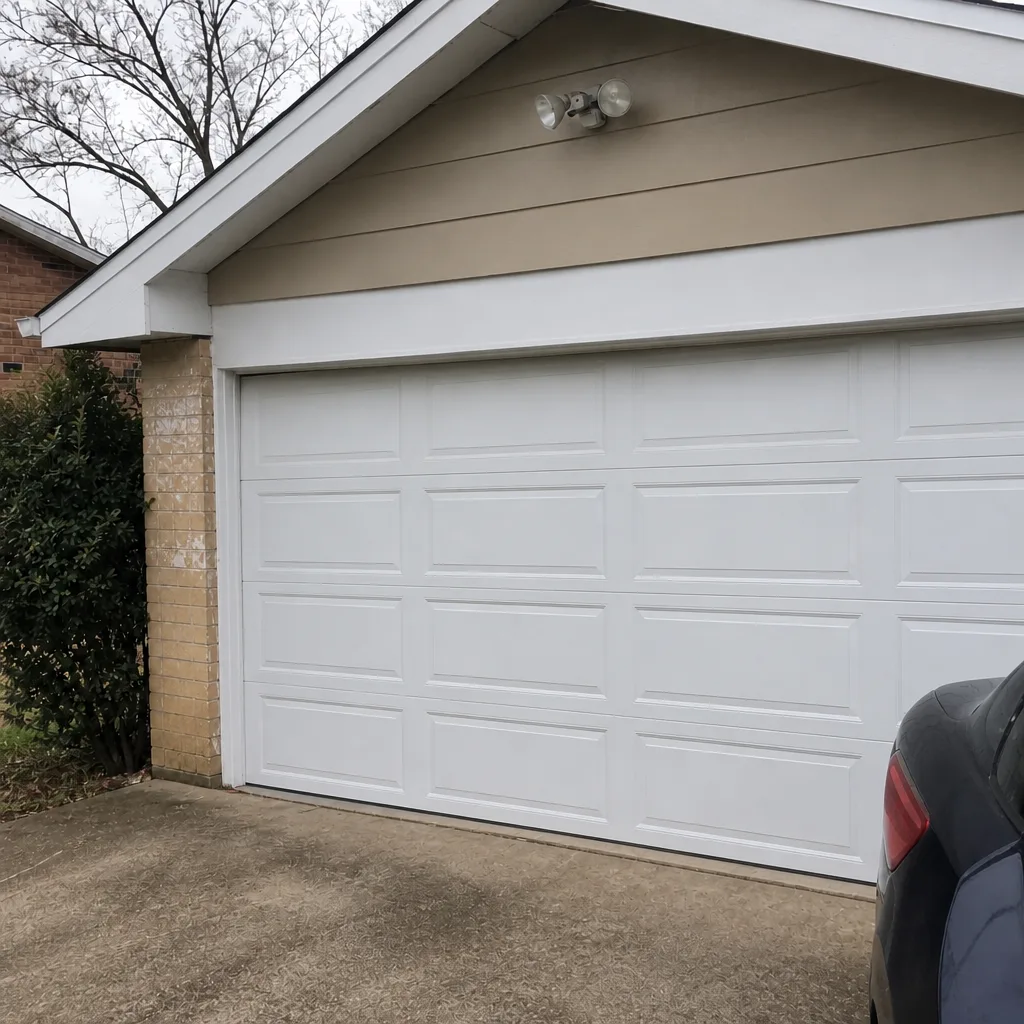 After
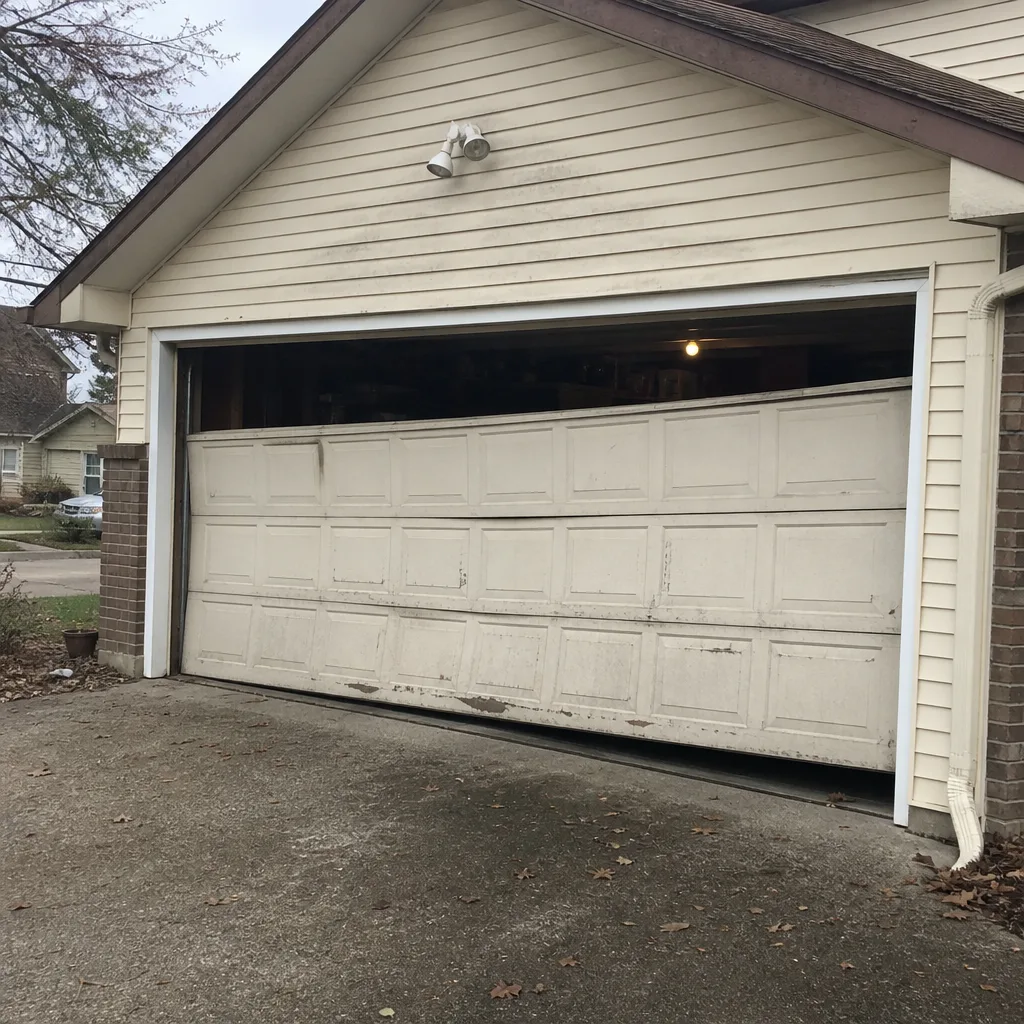 Before
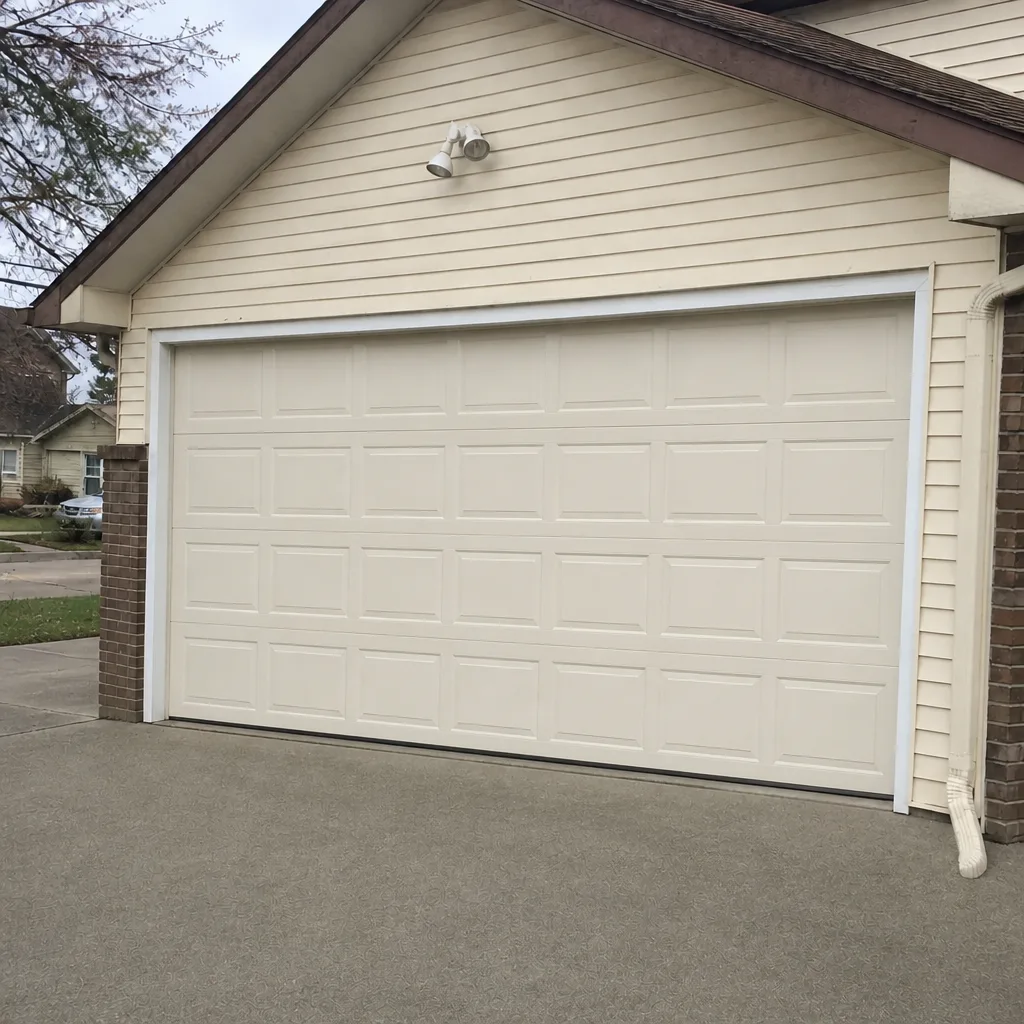 After
When to Call a Professional
Call before your door becomes dangerous, not after it fails. Get a professional involved if you see rust working up the bottom brackets, if a single corner of the weatherstripping keeps opening up despite a fresh seal, if the door wobbles or clunks when it runs, if the safety reversal test fails, or if you’ve started to rely on the opener to force a door that runs rough. Older openers can behave unpredictably after decades of service, no matter how long they’ve held on. All of these are symptoms a trained specialist should look at. Starling Garage Door Repair offers free estimates in Nashville, and our team works on repair, opener repair, and installation under one roof. Call (855) 916-8763. We answer 24/7. Fast dispatch from 7am to 7pm, Sunday through Friday.
Frequently Asked Questions
Plan on monthly five-minute visual checks, a full lubrication and hardware pass twice a year around the season changes, and an annual full check with the safety reversal test. Re-lubricate after the summer heat rather than on a date that assumes a milder climate, since Nashville’s humid summers drive off factory lubricant faster than most manuals anticipate.
Because standing water collects on the concrete under the closed door after spring rains, and that moisture sits against the bottom brackets and lower track. Nashville’s humidity keeps those surfaces damp between storms, so rust starts there before it starts anywhere else. Fix the source, not just the rust. Call (855) 916-8763 for a free estimate, and estimates are quoted and agreed before any work starts.
Yes, on the safe parts. Hinge pivots, roller stems, the torsion shaft, and a light coat on the tracks are all fine for homeowners with a silicone or lithium-based garage door lubricant. Never touch the springs, the brackets, or the cables. Those are under high tension, and that work is for a trained technician.
Note exactly where it pools and have the slab and seal checked. A single low corner usually points to settling or a seal gap that has opened up. It’s a small issue to catch early and an expensive one to ignore, because it feeds bottom bracket corrosion and track misalignment. That’s one of the most useful calls a Nashville homeowner can make. Call (855) 916-8763 for an exact quote, and estimates are free.
Usually, yes. We work on LiftMaster, Chamberlain, Genie, Craftsman, and other major brands, and we diagnose before recommending replacement. Many openers fail because of a fixable component like a gear, travel limit, or photo-eye sensor. Our Starling Garage Door Repair team can tell you quickly whether a repair is the right call, and you’ll get an honest answer either way.
Sometimes. A dry hinge squeak is normal and easy to fix with lubrication. Grinding, popping, or a single loud clunk usually means a worn roller, a misaligned track, or a door that’s out of balance. If the noise is new and persistent, have it checked before it turns into spring or opener strain.
The Bottom Line
The most useful garage door maintenance checklist for a Nashville home puts the water damage first, not the springs. Look at the concrete under your door after rain, read your weatherstripping for corner gaps that signal slab movement, re-lubricate after the summer heat instead of on an out-of-state calendar, and do the safety reversal test every year. Handle the five-minute checks yourself, but leave the springs, brackets, and cables to a trained technician. That combination catches the vast majority of local failures before they turn into emergency calls. When you need a closer look, our Nashville team is a call away. Call (855) 916-8763 for a free estimate.
Written by the team at Starling Garage Door Repair.